Schedule Report
Table of contents
Schedule Dashboard as a Report
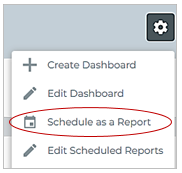
Click the Gear of the dashboard, then choose Schedule as a Report.
- Enter the report details:
- Subject - Enter the subject line for the email notification.
- Repeats - Select the frequency that you want the report to be sent (Daily, Weekly, or Monthly), date (start and end), the time (hh:mm), time of day (AM or PM).
- Recipient - The email address(es) that are to receive the report.
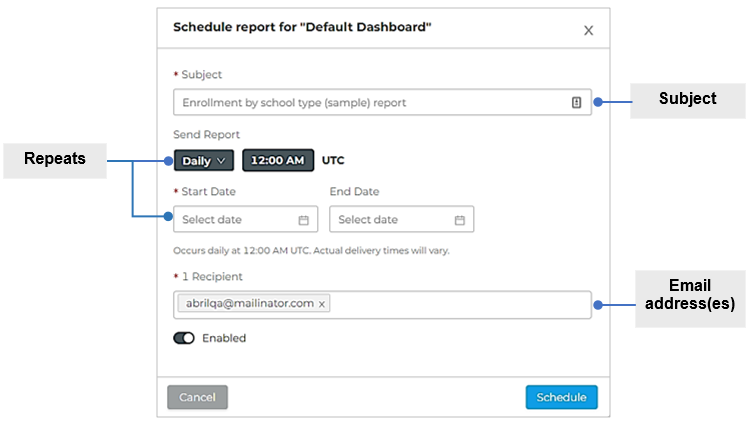
- Click Schedule.
Schedule Indicator as a Report
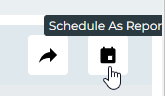
- Navigate the dashboard and drill down to the indicator.
Click Schedule As Report.
- Enter the report details:
- Subject - Enter the subject line for the email notification.
- Repeats - Select the frequency that you want the report to be sent (Daily, Weekly, or Monthly), date (start and end), the time (hh:mm), time of day (AM or PM).
- Recipient - The email address(es) that are to receive the report.

- Click Schedule.
Edit Scheduled Reports
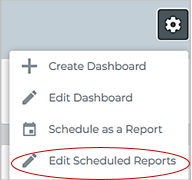
To cancel, edit, or delete scheduled reports, follow the steps below:
Click the Gear of the dashboard, then choose Edit Scheduled Reports.
Find the report that you want and click the three dots (ellipsis).
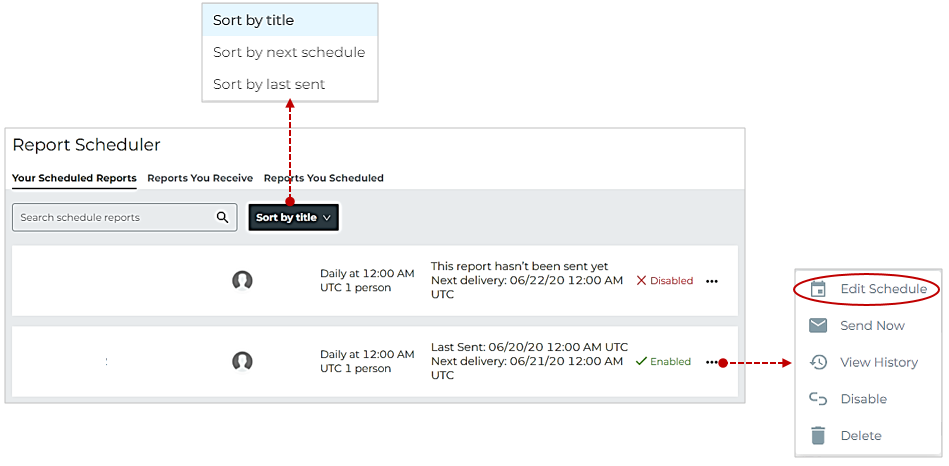
Update the information and then click Schedule.